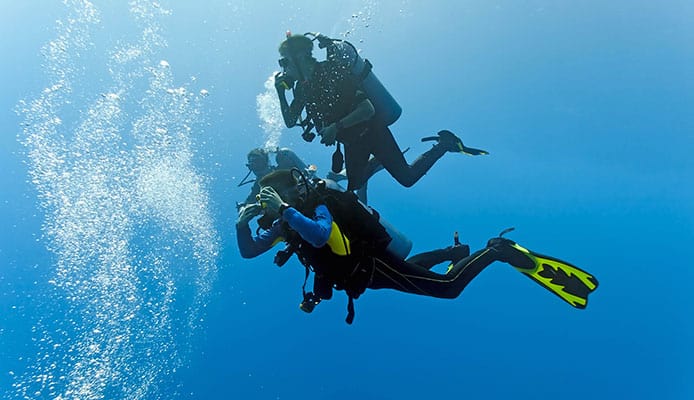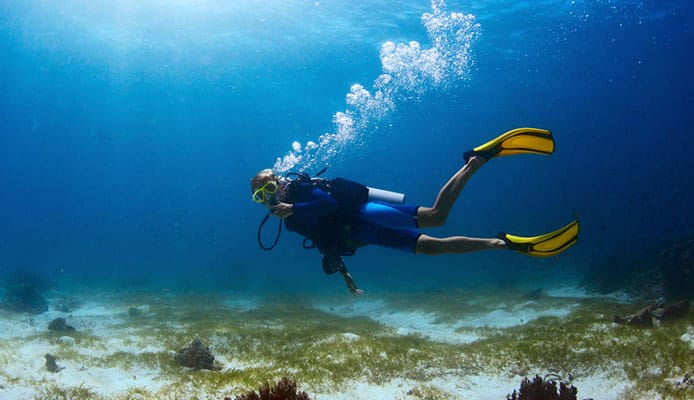
Scuba diving can be addictive. The calm blue waters surrounded by fishes big and small and the stunning colors of the coral reefs are yours to explore. The light shimmers its rainbow rays helping to illuminate the ocean floor.
And then suddenly, you realize that you are out of the air. The first reaction should be to find your dive buddy, but alas! He is nowhere to be seen. Perhaps he found that following a turtle is much more interesting than spending time with your boring self.
So, what do you do? You will obviously need to breathe and this means using your scuba fins to get you to the surface. But you can’t obviously rush so you will perform the controlled emergency swimming ascent or CESA diving.
The controlled emergency swimming ascent (CESA) is an emergency procedure used by scuba divers to reach the surface quickly after they have run out of air.
To do this you will need to swim slowly to the surface all while deflating the buoyancy compensator device and exhaling at the same time.
How to perform the controlled emergency swimming ascent
One of the things that you will learn when getting your diving certification is CESA. However, since most people do not find themselves losing air when scuba diving, and since it is a skill that is practiced less often, most people find that they forget this valuable skill.
That said, CESA diving can be dangerous to learn and perform. As you go on with your training, ensure that you have an instructor with you at all times, and avoid at all cost swimming vertically upwards.
Also, you should find out all you need to know about the buddy system.
There are some very serious risks involved which include decompression sickness, pulmonary barotrauma, or even drowning. However, don’t let these risks frighten you. You can still learn how to do it correctly with the right coaching and practice.
If you want to practice CESA on your own. The first thing that you will need to do is to pick a shallow dive site. It should be wide enough to swim horizontally. Space should be around thirty feet.
Then when you are thirsty or so feet away, practice swimming towards a goal or a marker. Ensure that you keep your regulator in your mouth. This helps you avoid the changes in pressure and the subsequent risks involved. As long as the regulator is in your mouth, you will not have to worry about the risk of drowning.
If you are now wondering why you have to do it horizontally, that is because you have to learn how to perfect the skill before you can do it vertically. It’s all the same just that everything is turned to the side.
Here is how to perform the controlled emergency swimming ascent:
1. Attaining neutral buoyancy

The first step to doing the controlled emergency swimming ascent is to first ensure that that you are floating and that you have attained neutral buoyancy. It is far more difficult to practice CESA when you are sinking to the bottom.
Also, when you are struggling to stay under while being positively buoyant it’s going to be hard to practice CESA.
Next, slow your breathing rate and relax. Think about the steps you are going to perform. It’s always a good idea to observe scuba diving etiquette.
2. Hold your arms up
Even while performing the controlled emergency swimming ascent, the diver should ensure that the rate of ascent is safe. It wouldn’t be the best thing to quickly reach the surface and find yourself dealing with decompression sickness.
To maintain a safe ascent rate, the diver should be regularly expelling air from the BCD as it expands due to the reducing pressure.
The deflator is held above the head while ascending to allow the diver to release air from the buoyancy compensator device when ascending a bit too fast.
Do you recall what we said about swimming towards a target? When you are practicing horizontally, this target should represent the surface of the water. Take the deflator and point it towards the target similar to what you would do if you were conducting CESA in open water.
The main difference between the two is that when you are practicing, the deflator will be pointed horizontally while in a real situation the deflator would be pointing upwards. You would be able to maintain your position whether horizontally or vertically.
Another risk worth noting perhaps is vertigo. Find out how to prevent vertigo when scuba diving.
3. Looking up
We can agree that the goal of CESA diving is to reach the surface. However, you need to make sure that you do not swim straight under a boat, or another diver. Also if you are cave diving, you will want to check out the beginner’s guide to cave diving. You will need to keep your eyes on what lies ahead of you. Once your deflator and your arms are set correctly in the right position, ensure that you are looking ahead.
Another major benefit of looking up when CESA diving is that you can observe the bubbles you exhale. The tiny bubbles are going to rise at a different rate than the larger bubbles. Often the smaller bubbles rise at a foot per second.
This makes it easy for the diver to monitor his ascent rate. Since it is very unlikely he will be observing the dive watch or the dive computer in such an emergency, observing bubbles will give him an idea of his rate of ascent.
For example, if the diver notices that he is ascending faster than the bubbles he is exhaling, then he needs to slow down his speed.
4. Swimming up
Now while maintaining your position, relax, and swim slowly at a rate that is less than one foot per second. Make sure that the diving regulator is in your mouth at all times. Even while you are ice diving, this still applies. However, check out the beginner guide to ice diving.
This is because even while being out of the air, your dive regulator will ensure that you do not swallow water.
This will be so when doing CESA in real life. However, when you are practicing, the regulator will also allow you to breathe if you find yourself out of breath.
One thing to always keep in mind is to exhale when you ascend. This is to allow the expanding air in your lungs to escape. If you don’t do this, you would risk pulmonary barotrauma.
To practice exhalation when diving horizontally, exhale while making a silent “Aaah” sound. This will also allow you to exhale slowly.
You might also like: How To Identify Fire Coral Stings And Treat Coral Burn
5. Positive buoyancy at the surface
You should be positively buoyant when you reach the surface. In a real situation, your head needs to remain above water for you to be able to breathe.
However, since you are practicing horizontally underwater, pretend that you do not have any air in your scuba tank that will inflate your BCD.
To remain positively buoyant, you will need to float on the surface.
To be able to simulate this activity, touch your belt and imagine removing the weight belt. Do not release however in the actual sense as this would cause you to float. All you need to do is remember that this is the step you have to take in case of a real-life situation.
Globo Surf Overview
Most dive situations are enjoyable especially if you follow the rules of the dive table. You will enjoy the beautiful marine life and even take a couple of cool images with your dive camera. However, things can get ugly in a worst-case scenario and you will need to know how to quickly get to the surface for air. This is what the controlled emergency swimming ascent is about.

