
So you’ve finally got yourself a kayak and now you can’t wait to bring it to the water for a test run. But then you just remembered that you still don’t have a roof rack on your car. What now? If you’re racking your brains for answers on how to transport a kayak without a roof rack, then you’re in luck because we have the solution right here.
As responsible kayak owners, we prefer using a roof rack to transporting your kayak. It is simply a safer way (for you, your kayak, and other cars on the road) and an efficient method of getting your kayak to the dock or wherever your launch area may be.
Also, we wouldn’t recommend using this kayak transportation technique for brand new and nicer cars. If you do any of the following steps and procedures incorrectly (or if bad luck suddenly rears its ugly head out), you could end up damaging your vehicle’s paint job or creating a dent in your roof.
But since you’re reading this, then you must be in a pinch or dead set on getting your kayak on the water. And so without further ado, here’s one of the most popular ways to transport your kayak without using a roof rack: the pool noodle technique.
1. Collect the Necessary Materials
You don’t need much to make this work. You’ll only need several pieces of these three things: pool noodles, ratchet straps, and tie-down straps.
Take note that you’ll want to use heavy-duty and durable pool noodles and straps. Cheap pool noodles won’t be able to hold the weight of the kayak, and will surely compress too much when you strap the kayak to your vehicle. Also, poor-quality straps won’t be able to hold the kayak securely once you’re on the road.
2. Set Up the Pool Noodles
Most pool noodles will be longer than the width of your vehicle. All you need to do is trim them down to size using a pair of scissors or a cutter. Once they’re the appropriate length, place them on top of your car, putting one near the front end of the roof, another at the rear end, and one more in the middle. You can use more if you want to, but three will usually be enough.
To hold the pool noodles in place, run a cord through the hole in the middle of each noodle. Then, open your car doors and secure the rope by tying it around the inner part of your car’s roof.
3. Load the Kayak onto the Vehicle
You might also like:
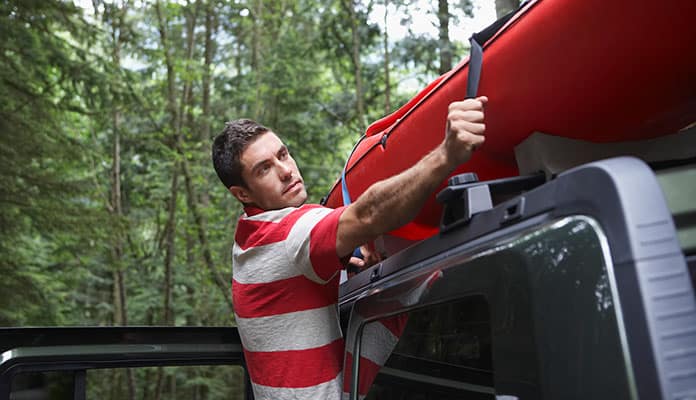
You can lift your kayak (especially if it’s one of those lightweight composite kayaks) on your own. However, be sure to practice proper kayak lifting techniques to avoid injuring yourself or damaging your car or kayak. Better yet ask someone to help you. This will make the process easier and safer.
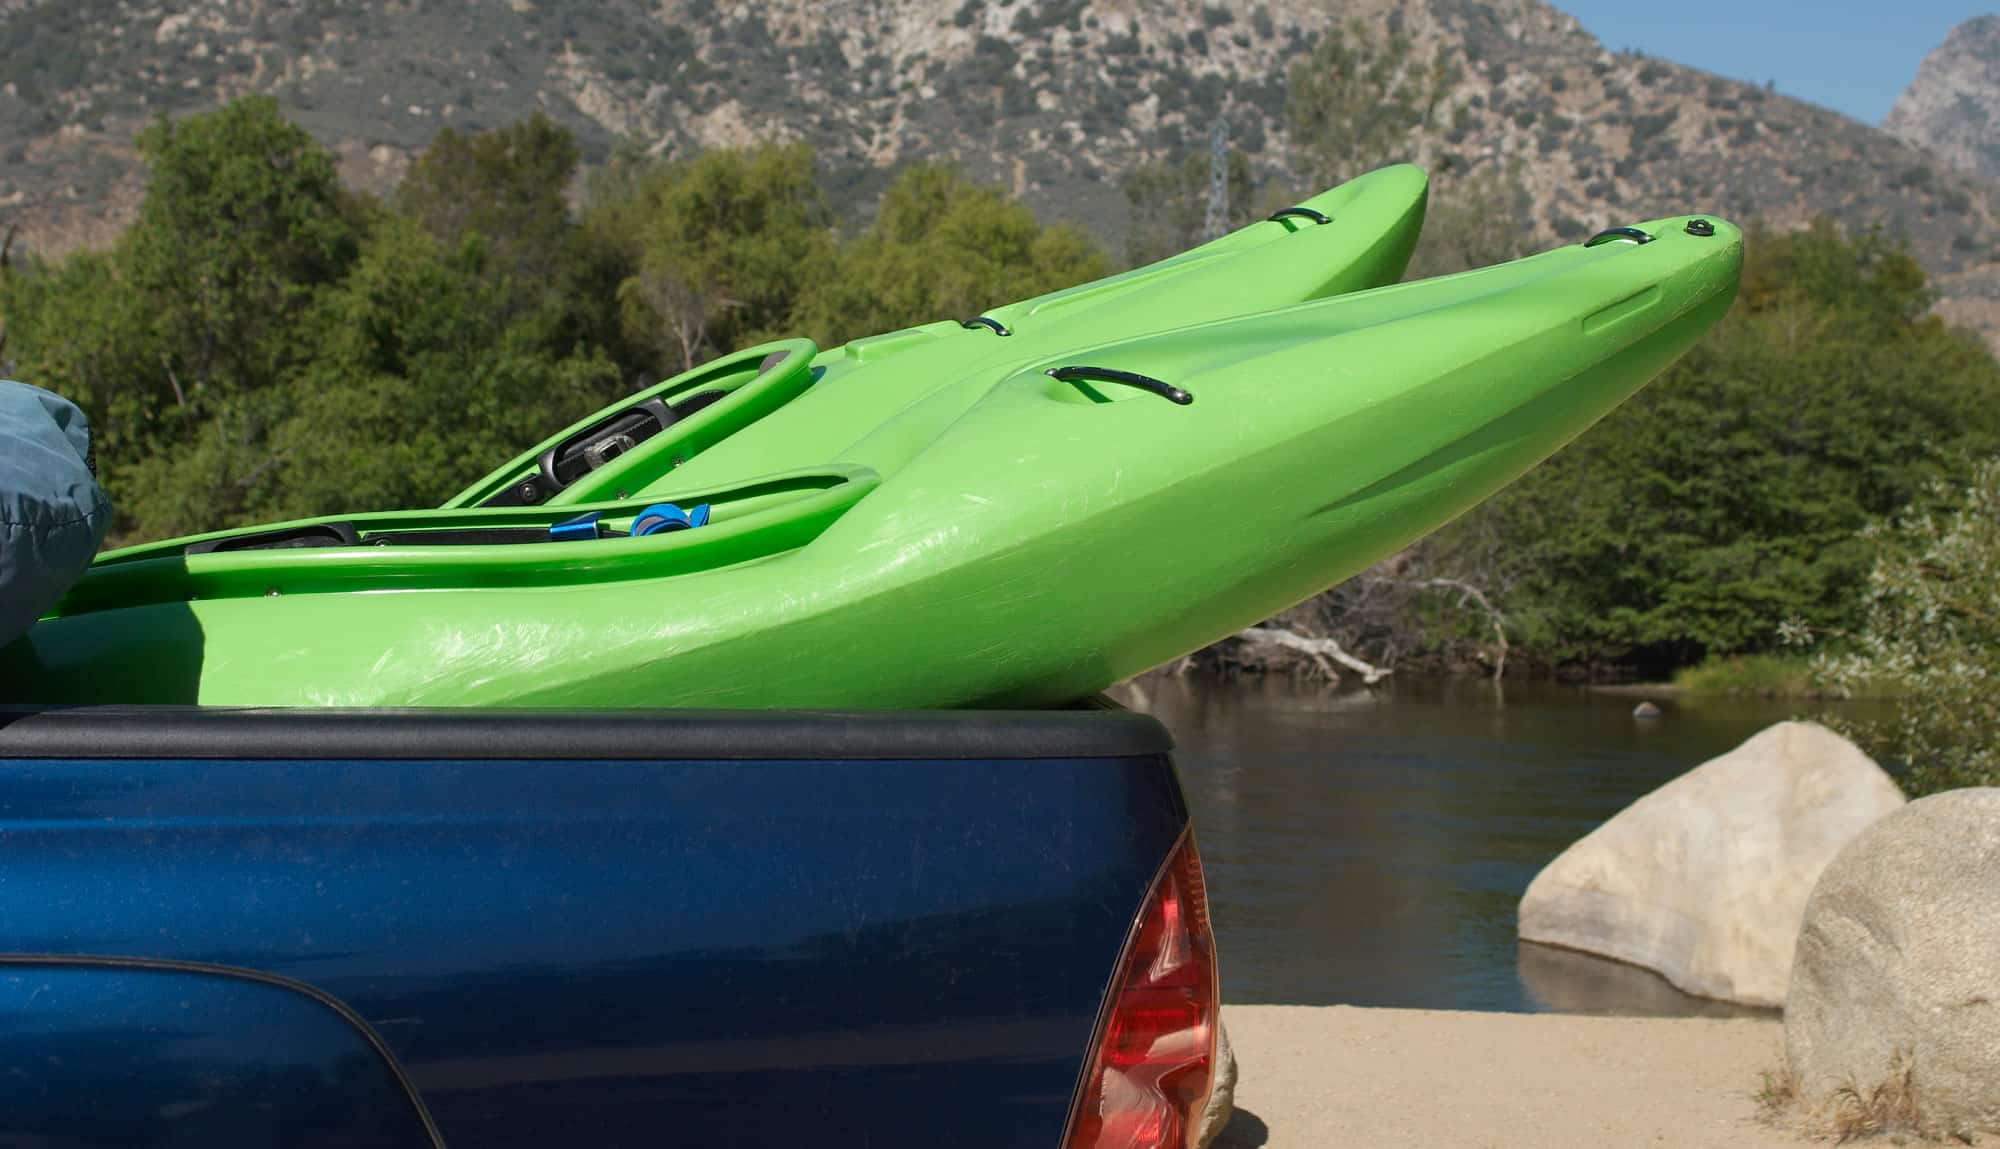
Carefully lift the kayak off the ground and turn it upside down so that the hull is now facing upwards, and then place it onto the pool noodles on top of the car. By turning the kayak upside down, the kayak’s weight is supported by its sides, which are also its strongest parts.
Once the kayak is in place, re-adjust the pool noodles and make sure that they are in their proper places.
4. Secure the Kayak
With the kayak sitting nicely on the pool noodles, put one ratchet strap over the front portion of the kayak’s hull with the ends hanging beside your car’s front doors. By the way, all four of your car’s doors should be open at this point. Remember, you’ll want to run the straps over the roof and not through the car’s windows; otherwise, you won’t be able to open the doors.
Now, grab both ends of the strap and hook them together to secure the kayak into place. The ratchet portion of the strap should be inside the vehicle to prevent it from scratching your car’s paint. Now, tighten the straps so that it pulls and lets the kayak settle firmly over the pool noodles. Avoid the urge to overtighten the strap since this may damage the hull of the kayak and the roof of your car.
Do the same to secure the rear end of the kayak, running the straps over the roof and inside the car, not through the car doors’ windows.
Once both straps are in place, go over them and make sure that they are tied down securely and make any necessary adjustments.
5. Tie-Down the Bow and Stern
 One thing that most people forget is to tie down the bow and stern of their kayaks, thinking that securing the center portions of the kayak is enough. However, tying down the bow and stern is very important especially since you’re transporting the kayak without a roof rack.
Using a tie-down strap, thread the strap through the front grab handle and secure it to the built-in towing eyes underneath the front of your car. Then, move to the back and using another tie-down strap, thread the strap through the back grab handle and secure it to the tow bar or towing eye at the back of your vehicle.
Tying down the bow and stern makes it much safer to transport your kayak and reduces (if not eliminates) the possibility of your kayak flying off while you’re driving. Also, it would be wise for you to stop every few miles and inspect the straps and tie-downs and make sure that they didn’t lose tension while you were driving.
Globo Surf Overview
If you ask us how to transport a kayak correctly and safely, we’d recommend that you get yourself a reliable kayak roof rack and kayak saddles. However, we understand that this is not always possible, which is why we have this quick and dirty guide about transporting a kayak without using a roof rack. Done properly, this trick will allow you to bring your kayak to your launch area and back home in one piece. However, always be aware that there are risks to employing this transportation method, so be smart, drive safely, and keep an eye on your kayak and the straps while on the road.
More Kayak Accessories Guides:
- How to Strap a Kayak to a Roof Rack – Easy 5 Step Guide!
- How To Add A Skeg To A Kayak?
- How To Use A Kayak Throw Rope
- A Guide To Kayak Bulkheads
- 11 Steps How to Paint a Kayak & Add Decals
- Whitewater Kayaking Gear Guide For Beginners
- Do You Need Kayak Paddle Drip Rings?
- Ideas For Kayak Modifications And Upgrades
- Kayaking Checklist: Most Important Kayaking Essentials