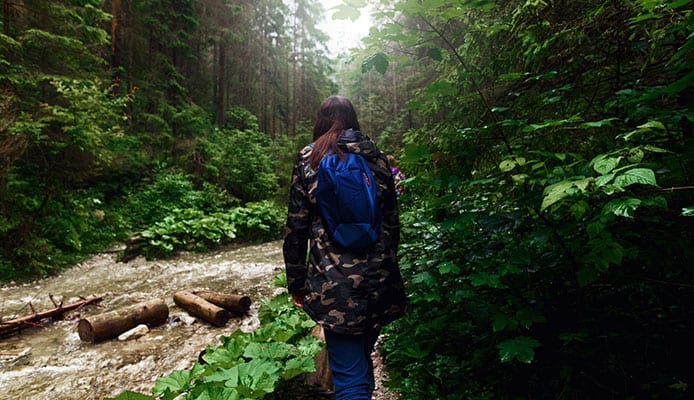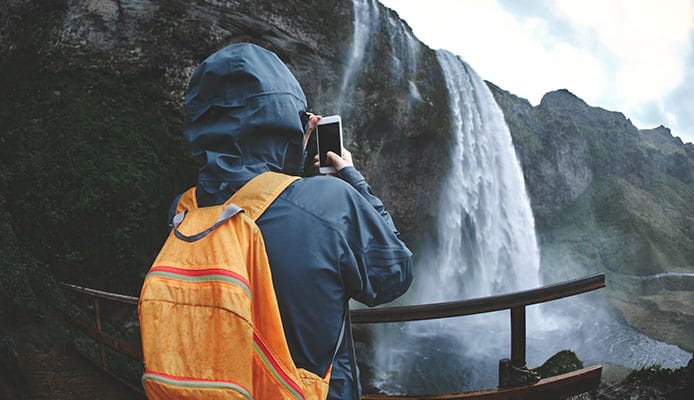
A waterproof backpack is indispensable gear for any outdoor enthusiast. If the activity entails camping during winter, kayaking in white water rapids, or hiking through the rain, you’re going to need a reliable waterproof backpack to protect your belongings from moisture and keep them dry. Unfortunately, genuine waterproof backpacks can be quite costly, which is why there are many beginning hikers and campers (or kayakers as the case may be) who often shy away from buying one. If you identify yourself with this group, don’t worry because you can still use any backpack of your choice. All that is needed is for you to learn how to waterproof a backpack.
Learning how to waterproof a backpack is something that every outdoor enthusiast should know how to do. The weather can be unpredictable and can change quickly while you’re out in the wilderness, and what seemed like a perfectly sunny day at first can instantly turn into a cold and wet afternoon. That said unless you have a waterproof backpack (or are ready to invest in one) here’s our handy guide to waterproofing any backpack and keeping its contents dry.
1. Spray on a Water-repellent and Apply a Seam Sealer
A waterproofing spray and a seam sealer is a staple in many camper’s toolkit. Although most of the sprays and sealers sold in outdoor shops are designed to be used in waterproofing a camping tent, certain varieties can be used for jackets and backpacks.
A waterproofing spray is basically applied to backpacks and hardshell jackets to improve their waterproofing abilities or to reproof their worn out coating. This is one of the best ways to waterproof a backpack and is a preventive measure that should be taken regardless of whether you use other backpack waterproofing methods or not.
Before spraying your backpack with a waterproofing spray, be sure to wash your backpack first and dry it completely. You’ll want to make sure that you get rid of any dirt or particle that may prevent the coating from sticking to the backpack’s fabrics. Once you’re sure that the entire bag is cleaned thoroughly, simply spray it with a good coating of waterproofing spray. Most of the time, a single coat should be enough to make the bag waterproof, though you can also apply a second coating if that makes you feel more at ease. A second coating is only necessary for high abrasion areas such as the underside of the backpack or the area that rubs against your shoulders and your back as you carry it.
After applying a waterproofing spray on the backpack, go along the seams and the zippers with a seam sealer. Just about any type of seam sealer used for outdoor gears will do.
One thing that many people often worry about is that the waterproofing spray may damage their backpacks, either by weakening the fabrics or by causing the colors to fade (which can happen if the spray contains harsh chemicals and bleach). This is why it is important to use only high-quality waterproofing sprays from reputable brands. Otherwise, you may find your backpack ruined, performance- and design-wise. If you’re not sure about the waterproofing spray you have, you can do a test by applying a small amount in an inconspicuous area of the backpack and checking if any adverse reactions occur.
It is important to remember though that waterproofing sprays will not make your backpack 100% waterproof since water can still enter through the bag’s openings and zippers. A waterproofing spray can only protect the bag’s contents from falling rain and water, but if your bag gets submerged underwater (which can happen when you’re kayaking in white water rapids) then water will definitely get inside the bag.
2. Put Your Gear in Individual Plastic Bags
After applying a waterproofing spray and seam sealer, you still need to protect the items inside it. Sure, if you’re just planning a hiking trip and expecting little to no rain, then you may not need to do this. However, if you’re expecting lots of water where you’re going, then this step can help give your bag’s content more protection against moisture.
For instance, if you’re bringing along expensive electronic gear on your trip, it’s definitely a good idea to take extra precautions and stow them away in a plastic bag. This provides you with an extra line of defense should your bag’s rain cover fail you, even if it is just protecting the important stuff. Just make sure to seal the plastic bag’s opening completely to ensure that no water can enter it.
For the smaller items like phones, solar chargers, and others, you can use a Ziploc bag. These bags are available in a variety of sizes and have excellent waterproof locking zips. You can also put other important items in a Ziploc bag like your wallet or cash, lighter, headlamps, and others. You should also consider getting a Ziploc bag big enough to store your first aid kit. Wet bandages and medicine will be pretty useless on any adventure.
3. Line Your Backpack with a Plastic Bag or Liner
When it comes to protecting a backpack’s content from water, the most common approach taken by many people would be to line the inside of their bags with a plastic bag (or two) or a commercially available pack liner.
There are pack liners available in most outdoor gear shops and retail stores, and they don’t really cost much. And even if they do, you should still consider how helpful they are in keeping the contents of your backpack dry. That reason alone should be enough to encourage you to get one. Backpack liners are basically a large bag with sealed seams that go inside the backpack before everything else. The benefit of using these bags is that they are specially designed to keep water out. Sure, it won’t protect your backpack from getting wet, but it will keep the contents dry even if your backpack is soaked. The only thing you need to worry about though is that it can sometimes be tricky to properly and effectively pack your gear inside, given the added bulk or extra layer of the pack liner.
However, if you don’t want to spend any money on a pack liner, you can use large plastic bags instead. You can use those heavy-duty garbage bags which you can buy in almost any grocery store. However, you need to make sure that you create a really good seal at the neck of the bag. You can do this by twisting the bag’s opening, folding it over the twist, and securing it in place with a good solid know or a strong rubber band or two.
You might also like: Benefits Of Having A Waterproof Backpack
4. Use a Backpack Rain Cover
After doing the steps mentioned above, you’ll still want to use a backpack rain cover. These covers go over your backpack, giving it some water-repellent properties which is often enough to keep your bag’s contents dry in the event of a rain (unless it’s a torrential downpour, in which case no amount of waterproofing will save your bag’s contents).
Hiking backpacks are generally sold with a dedicated backpack rain cover nowadays at no additional cost to the buyer. So if you’re still in the process of buying a backpack, be sure to ask the seller if the backpack comes with a rain cover. But don’t worry if it doesn’t because you can buy a rain cover separately.
The only problem with using a backpack rain cover is that it doesn’t protect every bit of the bag from rain. Backpack rain covers have an elastic trim that wraps around the external part of the backpack. However, they don’t cover the areas behind your shoulders or your back. This means that if water starts flowing down your back, the unprotected side of your backpack will still get wet. Also, using a backpack rain cover can make it difficult for you to access the bag’s contents. Besides, because they’re made of lightweight material, backpack rain covers can easily get snagged on foliage or rocks and rip.
5. Put Your Backpack inside a Dry Bag
A final step that can help make your backpack waterproof is to put it inside a dry bag. A dry bag is a waterproof bag that is rolled shut at the top. That way, water simply rolls off the top of the bag and doesn’t get inside. Many campers and backpackers agree that using a dry bag is the best way to keep the contents of your backpack (and the backpack itself) dry.
However, don’t make the mistake of thinking that a dry bag will replace your typical backpack. Dry bags only have one main compartment, meaning that they can’t be used as a primary backpack.
One of the best things about dry bags is that they can float on the water’s surface if there is little air trapped inside. This can be typically helpful for kayakers and canoe enthusiasts who are worried about tipping over and losing their packs.
Globo Surf Overview
There are plenty of reasons why you’ll need to have a waterproof backpack. However, if you find genuine waterproof backpacks too expensive, then there are several methods available to ensure that your gear stays dry inside your pack. Sometimes, employing one of the methods above about how to waterproof a backpack should be enough, but you can (and probably should) apply all of them as an extra precaution. Just keep in mind that the steps to waterproof a backpack don’t replace the ability of a genuine waterproof backpack to keep your gear dry. That said, it would be a good idea to invest in a waterproof backpack early on, especially if you plan on spending more time outdoors in the future.
Single Watergear Products Reviews:
- Flip & Tumble Backpack
- Versatile Toxic-Chemical Free Leather Bag | Zwuits®
- Polar Bear Nylon Backpack Cooler
- Polar Bear Nylon Backpack Cooler
- Backpack H2O Cooler
Source


