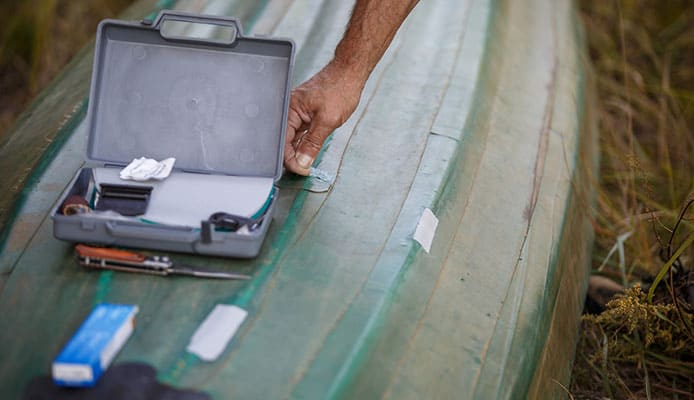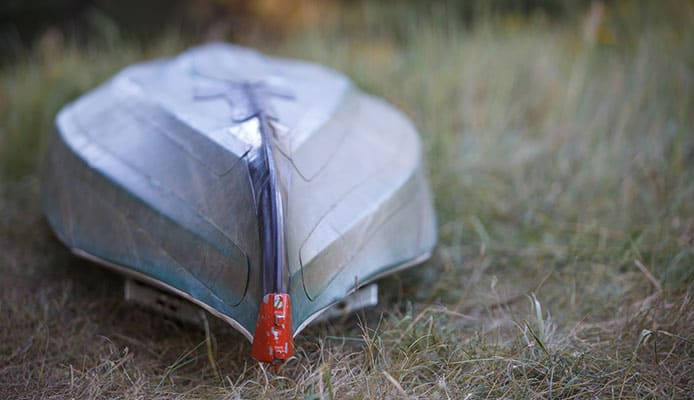
If you love taking your kayak to the rough waters or unfriendly riverbeds, chances are good you are going to scratch up to its bottom. In fact, sometimes you may do more than just scraping your hull; you may end up with a huge, leaky crack.
So let’s assume the deep ding happened in a plastic (polyethylene) hull, how will you prevent it from worsening?
No worries! We have put together a quick and easy plastic kayak repair guide to help you seal up that gash and get your watercraft back on the water. Let’s get started!
Scrapes And Grooves
These happen all the time. Kayaks get dragged along rocky riverbeds and shorelines. We involved them in rough activities like whitewater kayaking. We bang them into objects as we transport them to storage.
Thus, scrapes and gouges are part of every paddler’s life. And regardless of what material your kayak is made of, scratches should not be too much of a concern.
But many of the kayaks we have in the market today are plastic and some of these scrapes will result in fraying or peeling of the hull. If yours is a thick scratch that peels the plastic back, just get a razor blade and trim the area.
There are times, however, when the scrape might be much deeper or huge enough to worry you. In such instances, you may want to consider melting a plastic filler to patch up your hull, much like how you would weld a metal. To perform a plastic kayak welding:
- Get high-density polyethylene weld rods or pipes. You can even use cutouts from the kayak if you had any saved from your previous repairs. Some paddlers use milk cartons and boxes that are made from high-density polyethylene to get the job done.
- Grab a lighter or any fire starter and heat the polyethylene material until it starts to melt. As it melts, it will start dripping.
- Hold the melting plastic over the dent so that the drips can fill it up.
- Use a spatula, spoon, or any other flat, metallic tool to smear the drips into the gouge.
- Trim off or sand any excess to smoothen the patch.
Perforations In The Deck
It is not common to see the top part of a kayak develop a crack, but holes are not such a rare occurrence because these are where different parts of your boat are screwed into. Sometimes we remove accessories and forget to return them or just lose screws, leaving the holes open.
If water splashes up, it could easily get inside your boat. This is a common occurrence in whitewater kayaks where the choppy waters always find a way to get to the top of the vessel.
Holes in the deck can be sealed with something as simple as tape. Just make sure to replace it regularly.
A waterproof silicone will also keep water out. You can obtain this from your local hardware store. Stick the tape on the under part of the perforation so it acts as a foundation and put the silicone in the hole from the top to fill it up.
Cracks
Fractures are by far the most severe damage a kayaker can ever have to deal with. Where they are located also determines whether the repair bears any fruits or not. If your crack is on the top, you can use silicon or duct tape to patch it up. Even though these will just give a temporary fix, at least they will prevent water from seeping into your boat.
Things are completely different, however, if the fracture is on the bottom of the watercraft. As this is the part that hits the rocks and experiences most of the rough conditions, it so happens that it is the area where cracks occur the most. Any fracture in this section requires serious attention. You should not paddle your boat until you have analyzed and fixed it completely.
Most cracks occur under the kayak seat because this is where the paddler’s weight is mostly exerted. Cracks on the stern or bow are usually not as serious as those on the seating area, though they too should not be left unattended.
You might also be interested in: How To Properly Strap Two Kayaks Into A Car Roof Rack?
No matter where the fracture is and no matter how serious or not serious it is, it should be sealed to prevent it from getting worse. You will need to do some welding to patch things up properly.
But before you start, you will need to examine how severe the crack is, based on its location and size. Depending on how and where you sit in your kayak, the crack can be either near the bow or near the stern and can be a hairline crack or gaping opening. Whichever the case, here is how to go about plastic kayak welding:
- Get a small drill bit and make holes on both ends of the fracture so that it doesn’t get wider.
- Start your welding by burning plastic remnants or high-density polyethylene welding rods over the crack.
- Use a spoon to smoothen the patch.
If the crack is too wide, it would be wise to consult a professional, as trying to repair this by yourself could lead to further damages to your kayak. Think carefully before you get started, as it is possible that some of the damages you make will not be fixable even by a professional.
Globo Surf Overview
A cracked kayak can be a real pain in the neck because it robs you of the joy of paddling. Luckily, this can be fixed with ease. All you need is the right materials and a few minutes of your time.
This plastic kayak repair guide is dedicated to both experts and those who are still learning how to kayak, to help them turn those horrible moments into pleasant memories. All the repairs discussed above can be done comfortably at home but remember, if you are dealing with a serious crack, it is always wise to involve a professional.
More Skils Guides:
- How And Where To Sit In A Kayak
- What Muscles Are Used In Kayaking
- How To Easily Tow A Kayak
- How To Do Kayak Edge And Brace Stroke
- How To Paddle A Tandem Kayak
- What Is A Kayak Wet Exit And Entry And How To Properly Do It?
- How to Carry a Kayak: The Right Way!
- How to Get In and Out of a Kayak


